




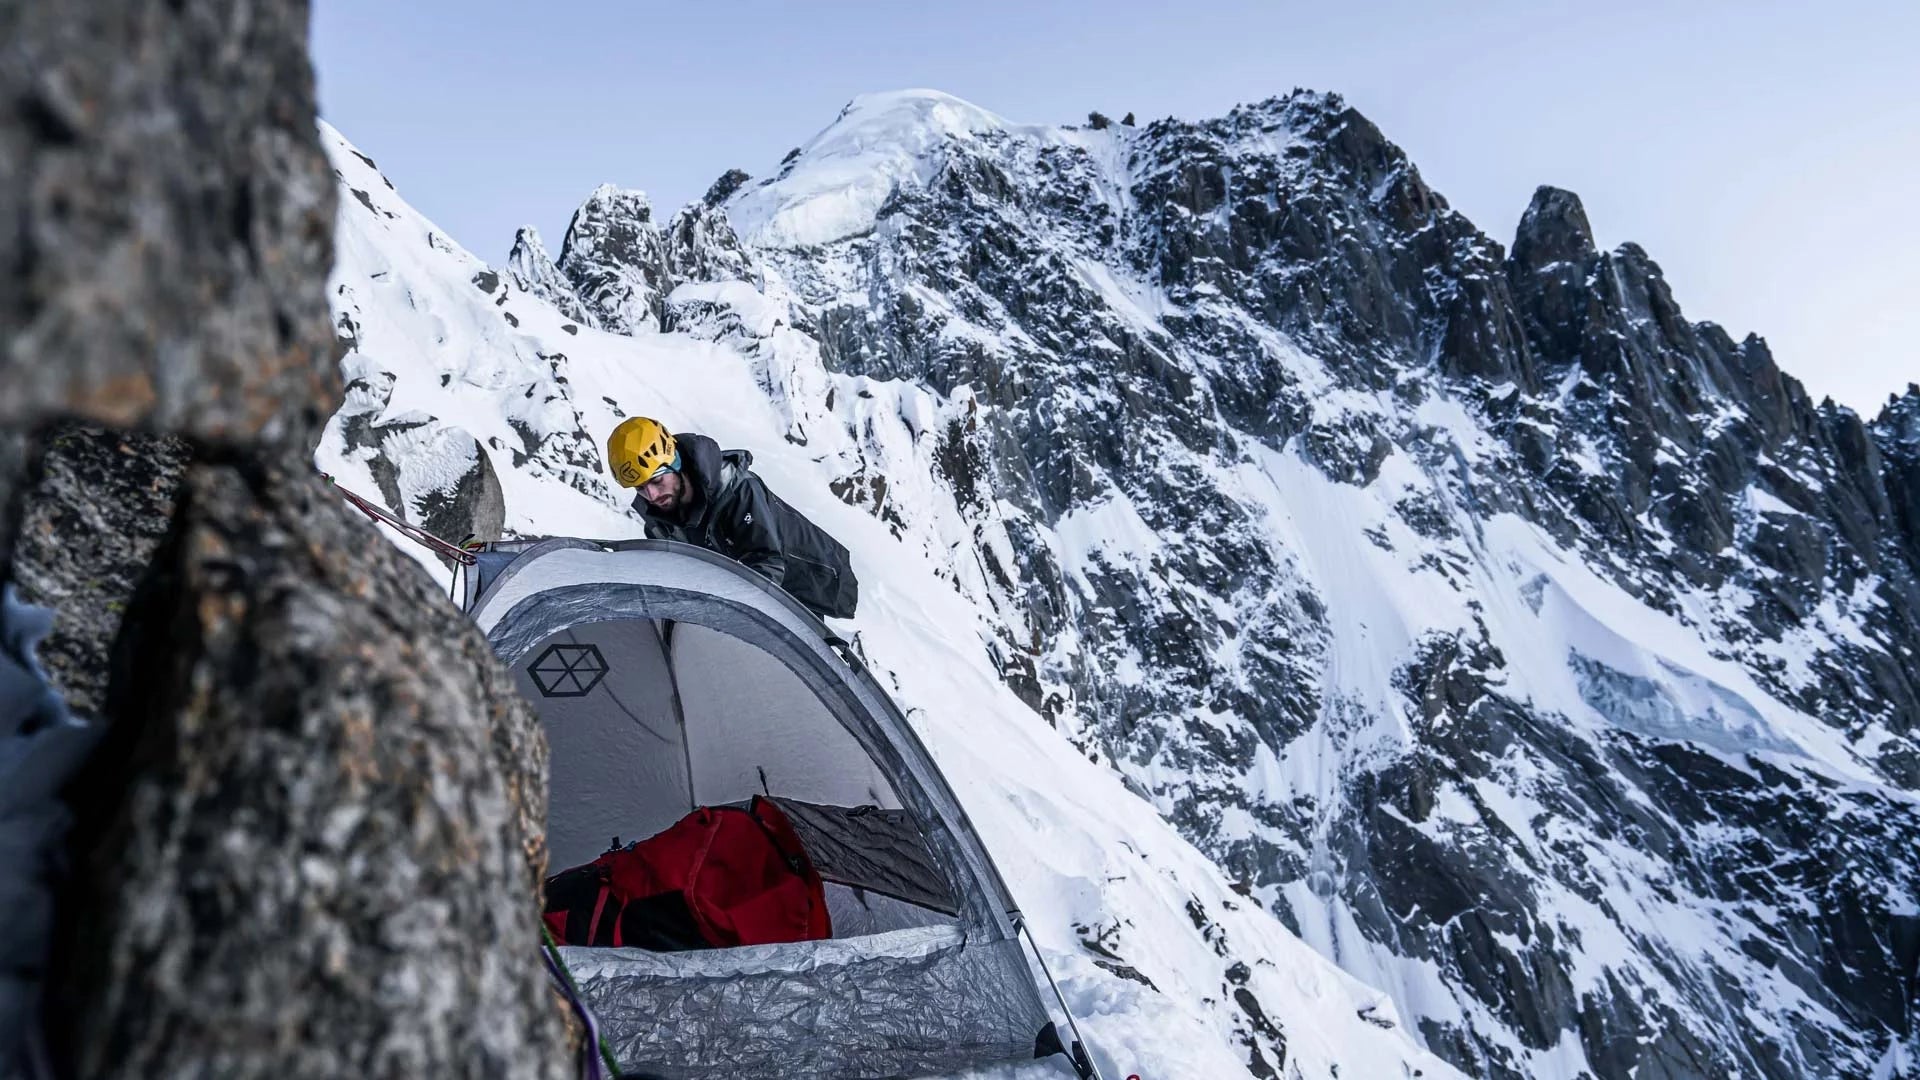


My first introduction to meal prepping for backcountry trips was a school assignment while attending the College of the Rockies in Fernie, BC. As you can imagine, a classroom full of passionately outdoorsy folks building an Excel spreadsheet for a hypothetical five-day trip was a little overwhelming.
Turns out, I was really into it.
I had a great time creating meal ideas and breaking down weight per person, calorie intake, and portions. In fact, I still reference that spreadsheet a decade later while planning trips.
I’m someone who genuinely enjoys food, and I see the importance of it while on a trip. From a safety perspective, calories keep you moving, keep you warm, and help your brain and body function properly while operating in complex terrain. Beyond that, good food also keeps morale high. There’s a huge difference between eating something you’re excited about and eating simply because you have to.
Planning food for a climbing trip can feel intimidating, especially when you’re trying to balance weight, calories, fuel, and group preferences. So before diving into all the finer details, I figured I’d share a couple of real meal plans from actual trips to help give you a starting point.
What Does a Real Backcountry Meal Plan Look Like?
These are actual meal plans I’ve used on alpine climbing and backcountry trips over the years. Hopefully they either spark some ideas or help take some of the pressure off planning your own adventure.
5-Day Winter Traverse Meal Plan
A high-calorie meal plan designed for five climbers completing a five-day winter traverse, where cold temperatures, sustained movement, and limited cooking time all influenced food choices.
Trip Snapshot
- Duration
- 5 Days
- Team
- 5 Climbers
- Trip Style
- Winter Traverse
- 25.8 kg
- Total Food Weight
- 5.2 kg
- Average Daily Food Weight
- 860 g
- Daily Food Weight Per Climber
Planning Priorities
- High calorie intake
- Easy-to-cook meals
- High snack density
- Cold-weather focused foods
Typical Day
What Worked
Powdered butter was one of the easiest ways to boost calories without noticeably increasing pack weight.
Everyone naturally reached for snacks far more often than expected during long winter days.
By the end of the traverse, simple one-pot dinners were appreciated much more than elaborate meals.
7-Day Fly-In Alpine Basecamp Meal Plan
A week-long fly-in alpine basecamp where helicopter access allowed us to prioritize fresh ingredients, more elaborate meals, and boost camp morale before transitioning into lighter pantry staples later in the trip.
Trip Snapshot
- Duration
- 7 Days
- Team
- 4 Climbers
- Trip Style
- Fly-In Alpine Basecamp
- 52.7 kg
- Approx. Total Food Weight
- 7.5 kg
- Average Daily Food Weight
- 1.88 kg
- Daily Food Weight Per Climber
Planning Priorities
- Fresh food during the first half of the trip
- Morale-focused camp meals
- Simple lunches on climbing days
- Transition into pantry-friendly foods later in the week
Week at a Glance
What Worked
Helicopter access made it worthwhile to enjoy fresh ingredients that would never make sense on a hike-in trip.
Alternating fresh meals with lighter pantry foods kept everyone looking forward to dinner throughout the week.
Repeating simple lunches freed up more time for climbing while still providing plenty of energy for long days.

Homemade vs. Store-Bought Backcountry Meals
Generally speaking, store-bought “boil-in-a-bag” meals work well on fast-and-light trips where simplicity matters more than the overall eating experience. Being able to simply boil water, pour it into the bag, and eat directly out of it can make a huge difference during long alpine days.
They also work really well as backup or emergency meals since they are compact, reliable, and require very little effort.
Homemade dehydrated meals tend to shine on longer trips where variety and morale become increasingly important. Having meals with different flavours, textures, and ingredients can help avoid the feeling of eating the same thing day after day. They also allow for a lot more flexibility around dietary restrictions, portion sizes, and calorie intake.
There’s also nothing wrong with taking a hybrid approach. Even something as simple as adding extra dehydrated vegetables, spices, cheese, or freeze-dried protein to a pre-made meal can make it feel a lot more substantial after a big day in the mountains.

Tips for Dehydrating Your Own Food
My biggest piece of advice would be to prep dehydrated ingredients well in advance.
I’ve personally found that dehydrated vegetables store extremely well in sealed jars and can last for years without issue. Rainy days, or times of year when produce is inexpensive, are the perfect opportunity to prep ingredients for future trips.
Generally speaking, cutting ingredients into smaller bite-sized pieces helps them rehydrate faster in the field, which means dinner is ready sooner.
My process usually looks something like this:
- Chop vegetables into small pieces
- Steam or boil briefly
- Drain thoroughly
- Spread evenly onto dehydrator trays
- Dehydrate at roughly 145°F for 10–12 hours
Some ingredients will dry faster than others depending on their density or how finely they were chopped, so make sure everything is completely dry, with no soft or squishy spots before storing.
Once cooled, I store the different ingredients in labelled jars with silica packs.

Foods I’ve Successfully Dehydrated
- Carrots
- Onion
- Broccoli
- Sweet peppers
- Tomato
- Bok choy
- Kale
- Peas
- Corn
- Mushrooms
- Garlic
- Green onion
- Green beans
- Zucchini
- Strawberries
- Blueberries
- Pasta sauce
- Yogurt
- Hummus
- Angel food cake
How Much Should You Eat?
Calorie needs vary widely from person to person, but for high-output backcountry days involving hiking, climbing, carrying loads, and colder temperatures, these are a rough starting point:
Summer Trips
Roughly 3,000–4,000 calories per day
Winter Trips
Roughly 3,500–5,000 calories per day
Long days also mean eating consistently throughout the day. I generally try to snack every hour or so, aiming for roughly 200–300 calories at a time.
Some favourites:
- Clif Bloks
- Protein bars
- Chocolate bars
- Kronos Bars
- Fruit Source bars
- Mixed nuts
- Mini Eggs
On slower-paced days, stopping for lunch can become part of the experience. A mountainside charcuterie lunch with crackers, cheese, hummus, and nuts can feel pretty luxurious in the alpine.

Fresh Food vs. Dehydrated Food
Different trips call for different food systems.
Short Overnight Trips
Short trips allow for heavier luxury items like fresh fruit, cooked chicken, or more elaborate meals. When pack weight isn't the primary concern, this is a great opportunity to enjoy foods that would be impractical on longer expeditions.
Fast-and-Light Alpine Missions
If the goal is moving quickly with minimal weight, boil-in-bag or freeze-dried meals are often the best option.
Pay attention to calorie counts when choosing meals, though. Some are surprisingly low in calories considering how demanding alpine climbing can be.
Extended Hike-In Climbing Trips
Week-long climbing trips into places like the Bugaboos are where dehydrated meals really shine. Lightweight, calorie-dense food becomes essential.
I still usually bring at least one backup freeze-dried meal per person for emergencies or especially exhausting days where nobody wants to do anything beyond boiling water.
Fly-In or Basecamp Trips
Trips accessed by helicopter, plane, or boat offer a lot more flexibility. Fresh food for the first few days can massively improve group morale before transitioning into lighter shelf-stable meals later in the trip.
Good food becomes a huge motivator during longer stretches in the mountains.
Morale Food Matters
Not every alpine trip comes with perfect weather.
Meals people genuinely look forward to can completely shift morale during a tough stretch of climbing or bad conditions.
For my mom’s first overnight backpacking trip, I made dehydrated angel food cake with dehydrated raspberry sauce. Rehydrate the sauce, pour it over the cake, and the whole thing comes back to life.
It had serious “wow factor” after a long day of hiking.

I’m also a huge fan of après-climb hot drinks:
- Hot chocolate
- Tea
- Apple cider
- Cup-a-Soup
- Miso soup
Sometimes those small comforts become the most memorable parts of a trip.
Variety matters too. Even if meals eventually repeat on longer trips, changing flavour profiles can go a long way toward keeping people motivated to eat properly.
Do You Pack the Same Food All Year Round?
As a general rule of thumb, colder temperatures usually mean you will burn more calories. That’s something worth considering while planning winter climbing trips.
Winter also introduces a few other challenges:
- Food freezing solid
- Stove performance
- Higher calorie demands
- Reduced motivation to eat
Dehydrated meals are pretty fail-safe for winter use. Mixing in powdered butter or peanut butter is a lightweight way to dramatically increase calorie intake while winter camping.
I also like to keep snacks such as chocolate bars inside jacket pockets so they stay soft enough to actually enjoy.
Sleeping with a Nalgene full of hot water in your sleeping bag can help warm your bag overnight while also ensuring you have unfrozen water ready for coffee in the morning.
Liquid-fuel stoves like the MSR WhisperLite or MSR DragonFly generally perform much better in colder temperatures.
Summer brings the opposite problems:
- Fresh food spoils faster
- Chocolate melts
- Soft cheeses break down quickly
Hard cheeses, Landjäger, and jerky tend to hold up much better in warm weather.
Canister stoves like the MSR PocketRocket 2 or Jetboil Flash 2.0 are usually more than sufficient during summer and shoulder-season trips.
The FlipFuel is also a handy tool for combining partially used fuel canisters instead of carrying multiple half-empty ones around.
How Much Does It All Weigh?
No matter how lightweight your meals are, they will almost always weigh more than you think.
A week-long trip with four people eating four times a day is simply a lot of food. Once you start adding snacks, drink mixes, breakfasts, and recovery food, the weight adds up quickly.
Some of my favourite lightweight backpacking meal bases are:
- Rice noodles
- Couscous
- Instant mashed potatoes
These all rehydrate quickly, pack down small, and pair well with dehydrated vegetables and powdered sauces.
Balancing calories against weight can definitely be tricky, but adding calorie-dense ingredients like cheese, powdered butter, peanut butter, or olive oil can make a huge difference without adding too much bulk.
One thing I’ve learned is that it’s worth taking the time before a trip to portion everything out properly. Once you’re tired after a big approach or summit day, having organized meals ready to go makes life dramatically easier.
Organizing & Packing Food
I like to take the time before a trip to portion everything out properly. This is where freezer bags become your best friend.
Once you have your meals planned, dehydrated, or purchased, lay everything out alongside:
- Your food list
- Large and small freezer bags
- A marker
Being organized before a trip makes a massive difference once you’re deep in the mountains.
Each dinner gets its own labelled bag. If certain ingredients need to be cooked separately, I’ll usually put smaller bags inside larger ones.
For breakfasts and snacks, I tend to make individual bags for each person. That way:
- Everyone manages their own snacks and breakfasts
- Food is easier to distribute
- It becomes very easy to remove someone’s food if plans change before the trip
Once everything is portioned out, food weight can be distributed alongside group gear.
For the most part, freezer bags stay relatively clean with dehydrated meals and can simply be packed out and washed at home afterward.

Food Storage in the Backcountry
Food storage is especially important while travelling in the Canadian backcountry.
While bears get most of the attention, smaller animals like mice, martens, and pack rats often cause more issues around camp.
Always research the area you’re visiting. Some climbing destinations, like Applebee Dome in Bugaboo Provincial Park, provide bear lockers for food storage.
Otherwise:
- Use bear hangs when possible
- Bring dry bags or stuff sacks
- Consider bear canisters or odour-resistant bags in alpine terrain
- Store food away from sleeping areas
Final Thoughts
Planning an entire week’s worth of food for a climbing trip in a remote area takes time and organization, but it’s also part of the fun.
I genuinely enjoy the meal-planning side of trips, not only because it helps make sure everyone has enough food, but because good meals become part of the experience itself.
There’s something really satisfying about sitting in the mountains with your climbing partners, eating a meal you carried in yourselves while watching the sun set after a big day. Chef’s kiss.


Leave a comment