

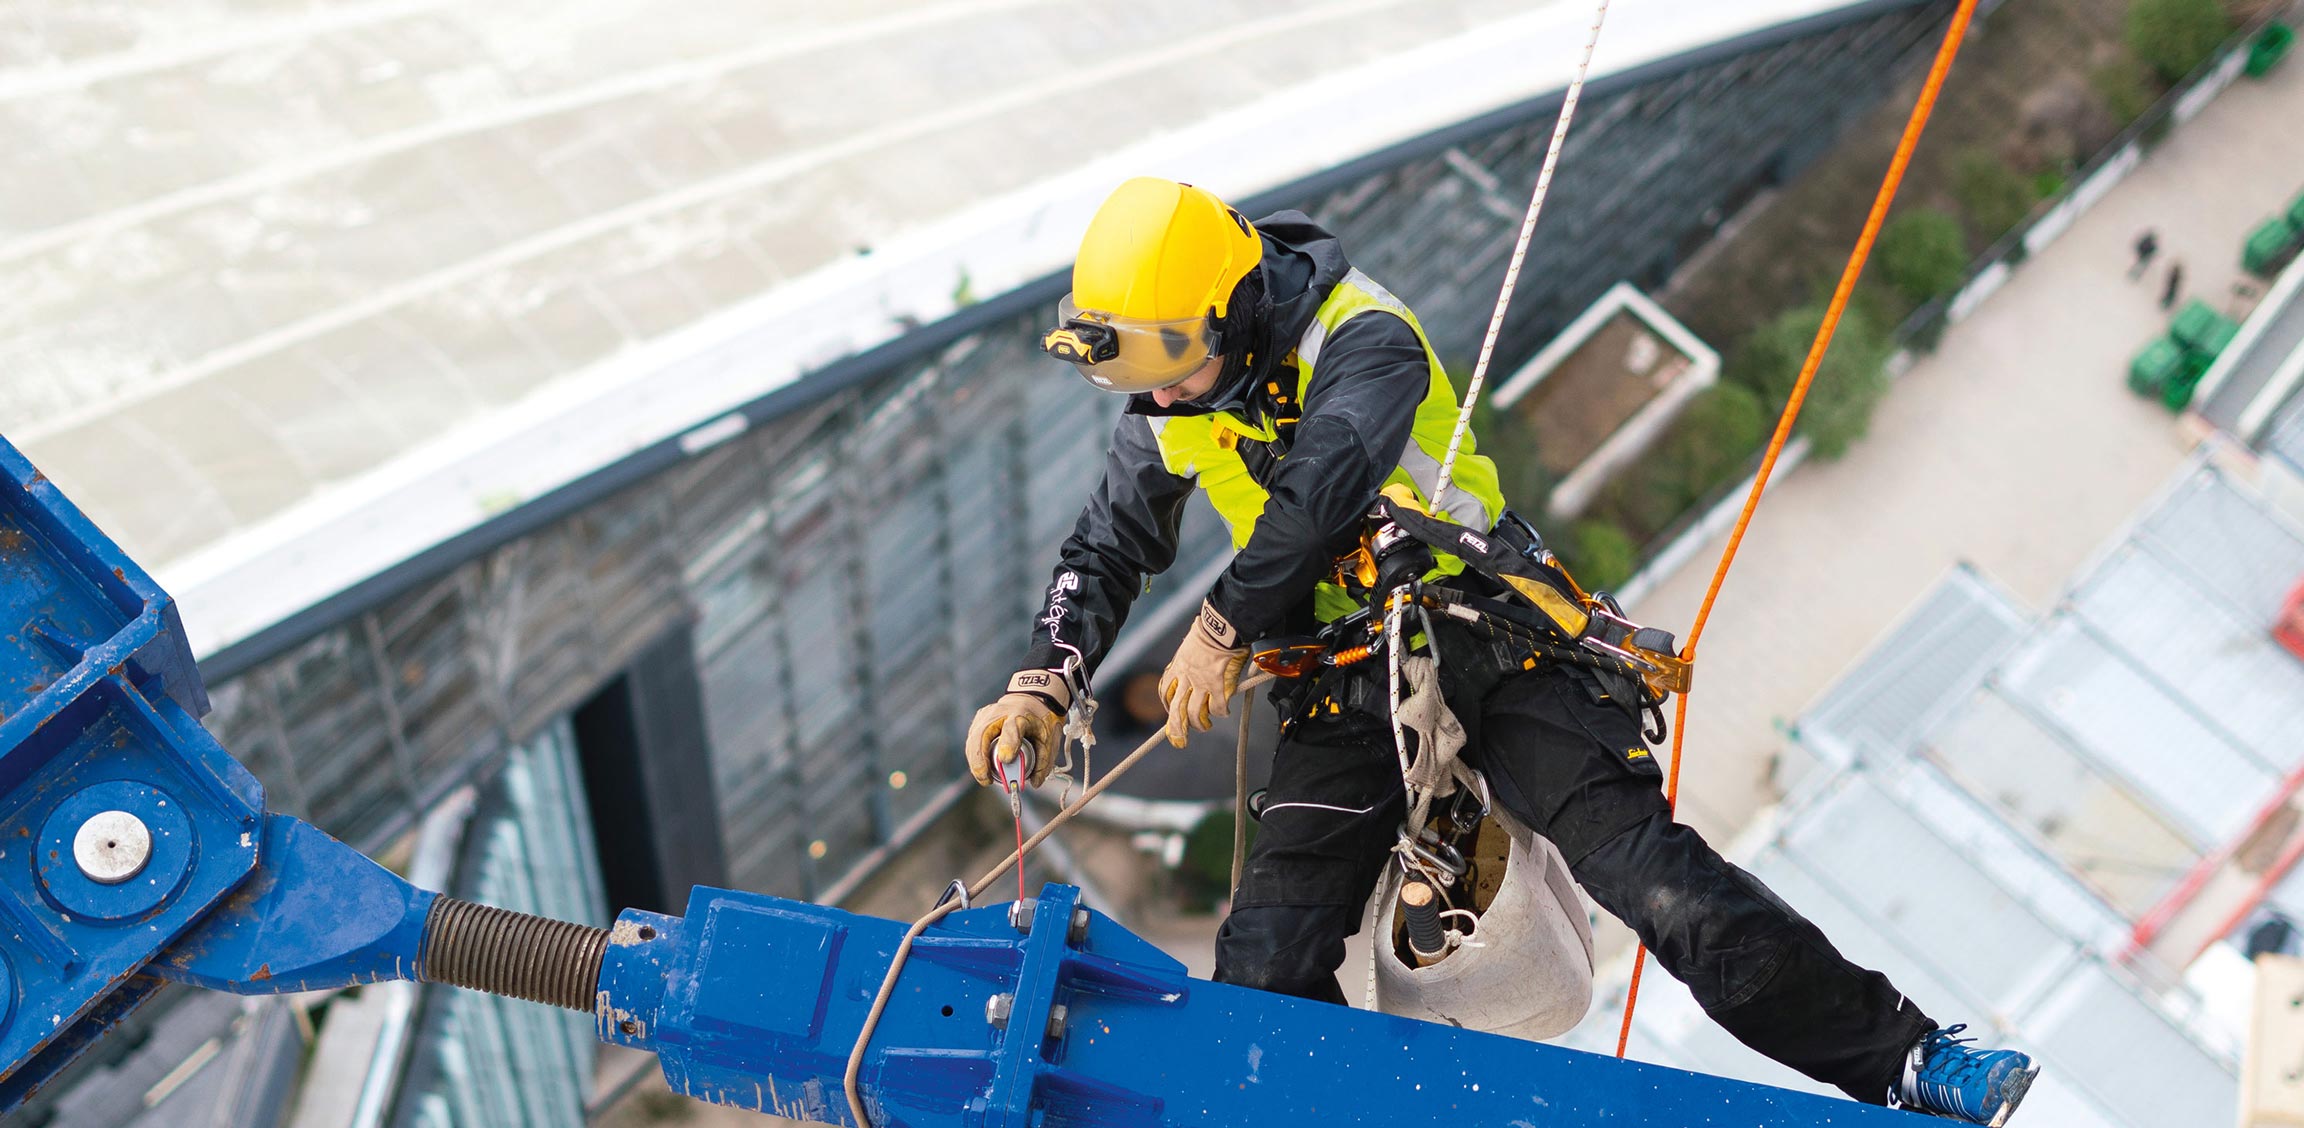

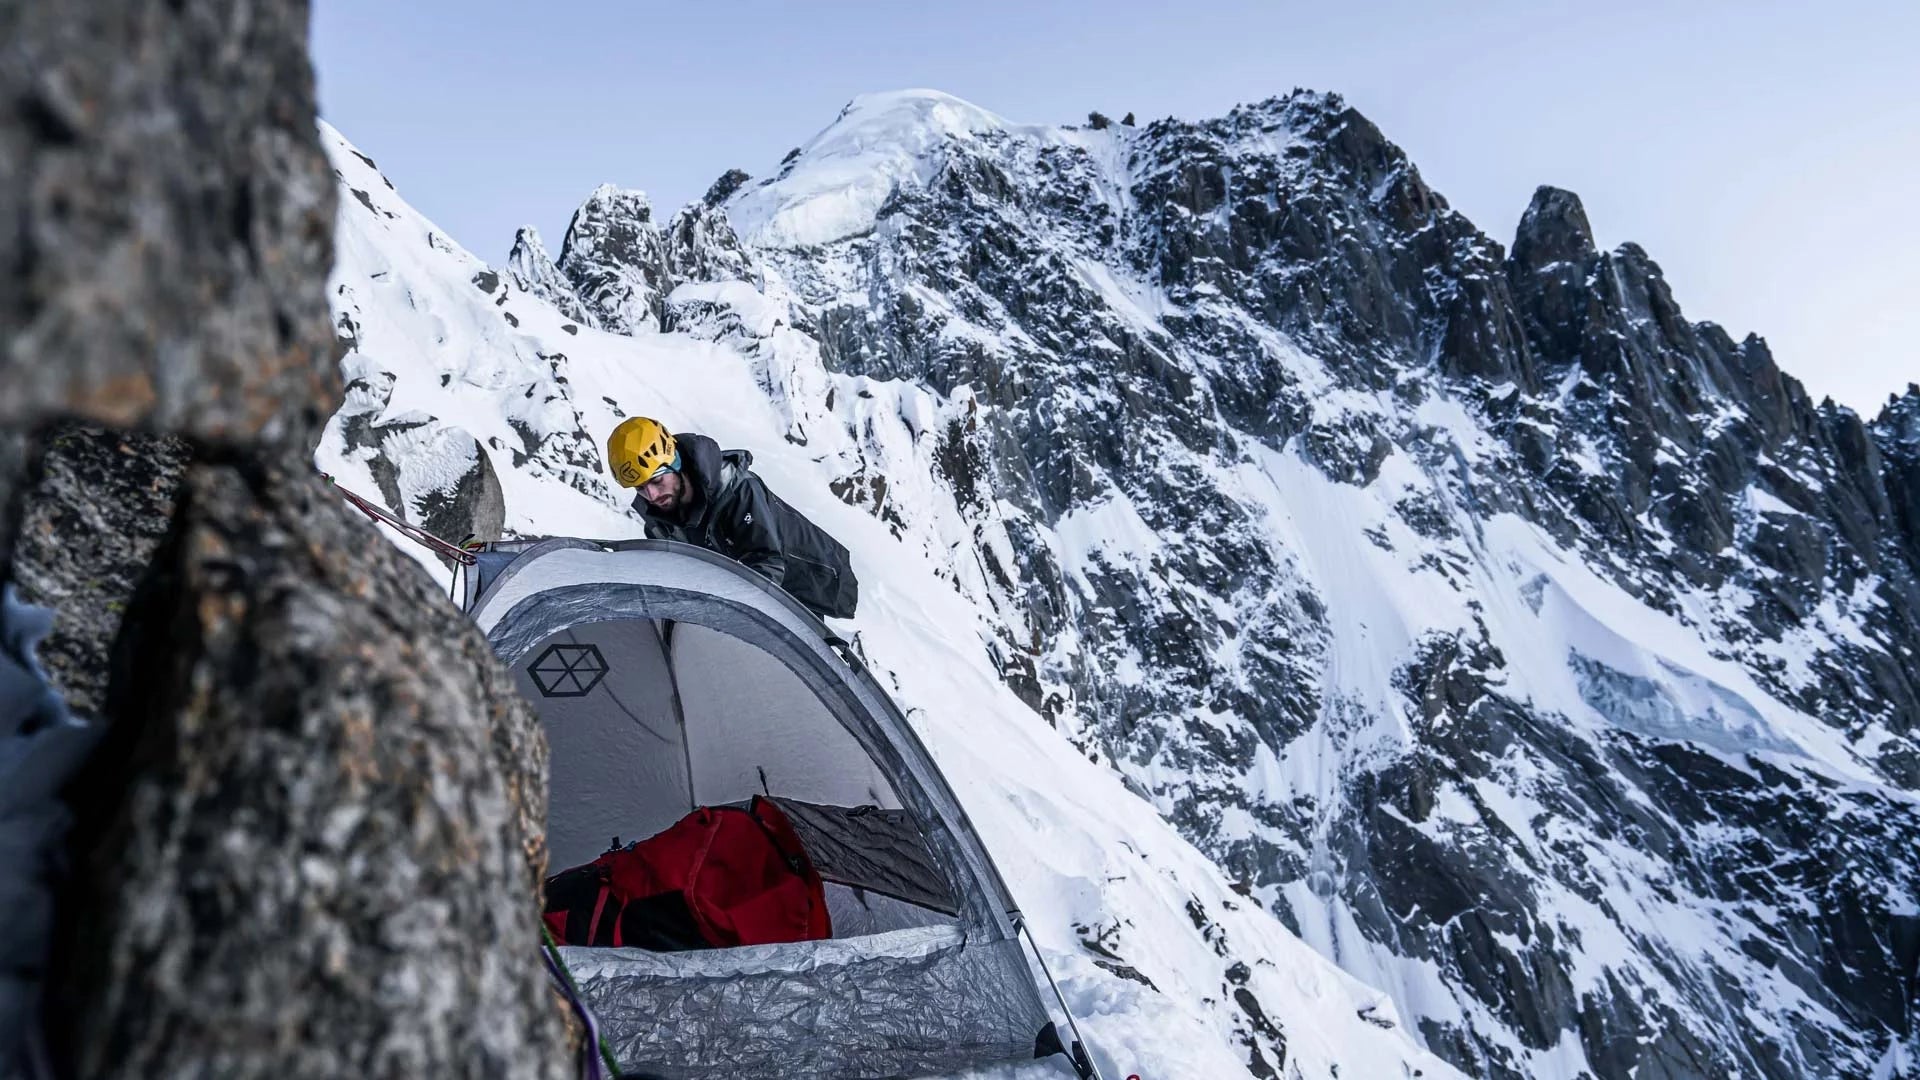


Ice Climbing Pre-Season Tech Tips
As temperatures fall and the first snows brush the mountains, our thoughts turn once again to frozen waterfalls and the glittering pull of ice. The tools come down from their hooks, the memory of movement stirs, and the quiet anticipation of winter takes hold.
With the right preparation, ice climbing transforms from a battle against cold and gravity into something graceful, a rhythm of swing and steps. It can be as safe and fluid as it is demanding, if both you and your gear are tuned for the season ahead.
Here are ten ways to prepare, to sharpen your tools, your body, and your mindset, before the ice sets for real.

10 Prep Tips
-
Hang on your tools. Regularly working out your ice grip and position before you hit the real ice. Even if you’ve been climbing all season, the muscle groups and pump required for ice are quite different. During your first few days out, over-gripping is common. To get ahead of it, spend some time hanging on your tools. try moving around a training board or even a sturdy ladder if that’s what you have. The goal is to dial in your grip strength and rebuild that ice-specific endurance before your first day out.

-
Replace or sharpen your picks. A surprising amount of material can be lost if you sharpen them regularly, especially if you mix climb or often hit rock while on thin ice. Over the course of a season or two, the pick’s profile, length, and angle can all change. Take the time to restore your picks to their original shape, or treat yourself to a new set every once in a while.

-
Visit a seamstress. Those little holes from crampons, ice screws, picks, rocks, or even branches slowly deteriorate your outer layers. Take a little time to patch them up yourself or drop them off with a local seamstress to repair your first layer of protection.
-
Apply repair adhesive to those seams. Modern double winter boots are light and excellent for climbing, but they don’t last forever. The stitching and seams gradually wear down and start letting in water. Long slogs up shale slopes or talus fields can take a huge toll on your boots, so extend their life by reapplying Aquaseal or a similar sealant to keep moisture out. Damp feet mean cold feet in winter.

-
Strengthen your shoulders. Focus on scapular pull-ups, rotator cuff exercises like reverse flys, and interval weighted pull-ups that emphasize holding positions, often called Frenchie pull-ups. This will help you swing your tools higher, feel more stable when placing screws, and move comfortably between ice blobs in different positions.

-
Start lining up partners. Ice climbing often means long, cold days that require real commitment. Finding partners with similar motivation, objectives, and availability can be tricky, so start those conversations early. Join local ice climbing groups and connect with like-minded climbers. Having a motivated, stoked partner who’s in sync with your goals makes the season more fun and rewarding; the climbs start to flow one after another. Just like in life, it’s all about building strong relationships and connections.

-
Gloves, mitts, and liners. Ice climbing is tough on gloves; it stretches seams, wears out palms, and breaks down waterproofing. Dirt, rappelling, and constant pulling and stretching can destroy them quickly. If there’s one piece of gear that needs regular care or replacement, it’s your hand-warmth system, from belay mitts to liners, mixed gloves, and your go-to ice gloves. Take a close look before heading out; let’s face it, cold, wet hands really suck.
-
Refresh your bail kit. Ice climbing often means leaving some “tat” behind, from a simple piece of cord on a V-thread to upgrading anchors with rappel rings. Tree anchors can degrade over time or even get chewed by rodents. Every ice climber should carry a small, compact bail kit that includes essentials like a knife, cord, maillons, and, if you’re exploring new routes, a bolting kit. For a more detailed list of useful ice accessories, check out the full article here.

-
Refresh your skills. Before you head out, take time to review your ice climbing tech skills. Ice climbing requires a unique set of techniques beyond what you learned rock climbing. Make sure to refresh the essentials, including building V-threads and No-Threads, belaying and leading with double ropes, choosing safe belay locations, assessing avalanche hazards above, managing rappels with skinny ropes, understanding weather and condition resources, practicing self-arrest and retreat techniques, handling multi-pitch transitions, and knowing how to respond to emergencies and first aid situations.
-
Send those ice screws for sharpening. Ice screws are incredibly sharp and cut through ice like butter, but only when they’re in mint condition. Bottoming out a screw can dent the tips, and every time you sit down on your pack or bash your way up to a climb, the screws slowly become dull. Take the time to inspect and sharpen them; if they’re in rough shape, consider sharpening them, replacing them or sending them out to a professional. We have used and can recommend Charles Pechousek at IceScrewSharpening.com

Leave a comment