


Lead Image - Courtesy of Black Diamond - Photographer Austin Schmitz
Rappelling is one of the most fundamental skills in climbing. It allows climbers to descend safely and efficiently, and the basics are often taught early, sometimes within a climber’s first few days on the rock. Because of this, most climbers would consider themselves reasonably competent at rappelling. But the story rarely ends there.
Beyond a basic rappel lies a surprisingly broad world of systems, techniques, and problem-solving scenarios. Complex anchors, difficult rope retrievals, traversing descents, improvised setups, and retreat situations all introduce challenges that a basic introductory lesson is unlikely to cover. The deeper you go into climbing, the more nuanced rappelling becomes.
“The goal isn’t to memorize every system. It’s to understand that options exist.”
This article looks at a range of increasingly complex rappel systems and considerations. It is not intended to be a teaching manual or a comprehensive step-by-step guide. Instead, its purpose is to highlight the breadth of techniques that exist, encourage curiosity, and inspire climbers to continue expanding their rappel toolbox over time.
Climbing and especially rappelling involve inherent risk. Many of these systems require professional instruction, experience, and careful practice to understand and apply safely. This article should be viewed as an introduction to the topic rather than a substitute for qualified mentorship or hands-on training.
Welcome to our “taxonomy of rappelling”
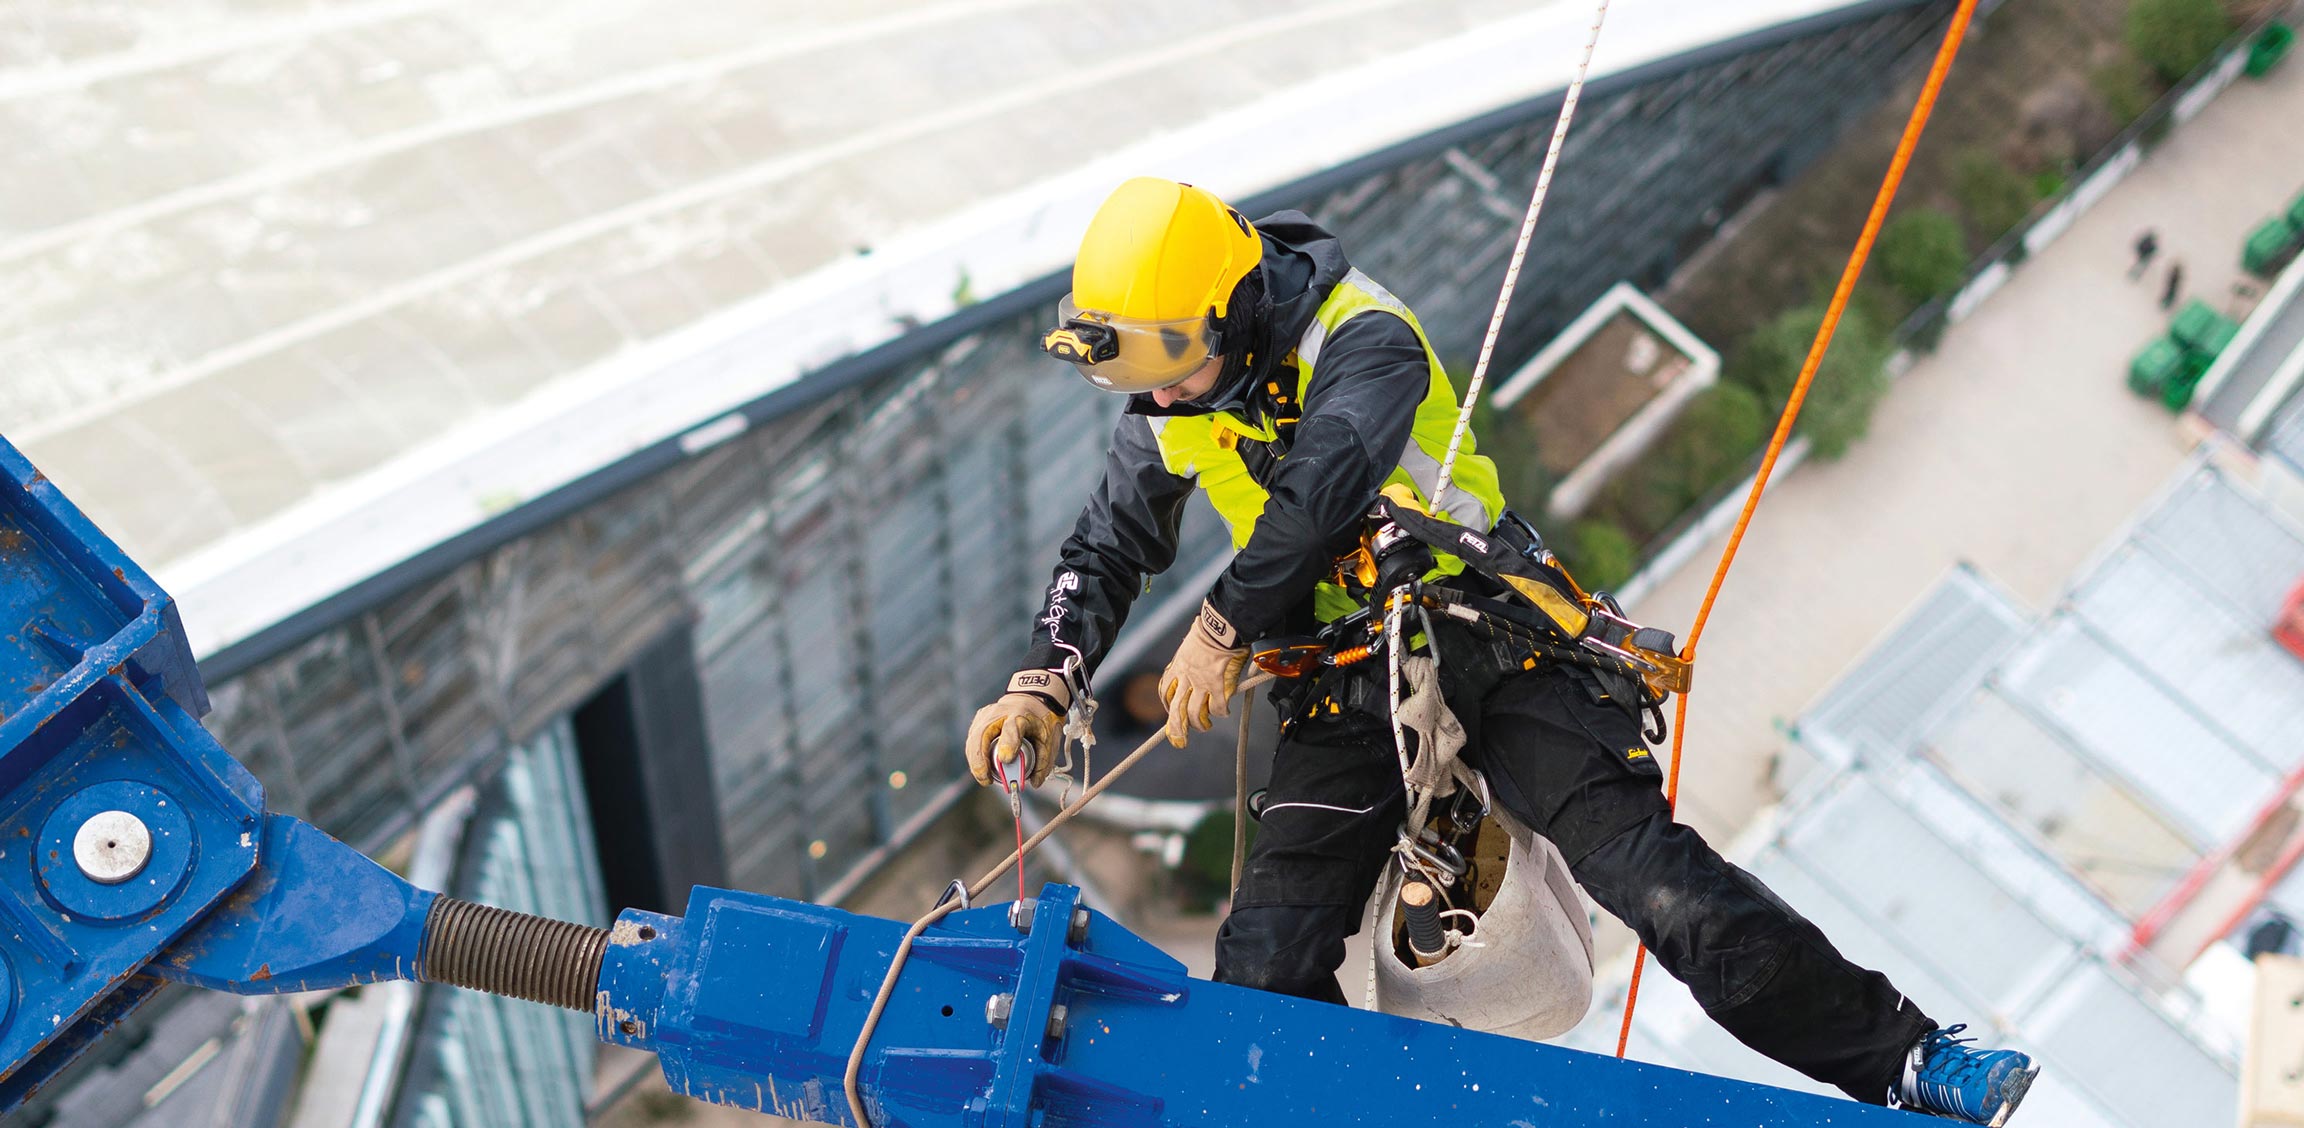
RAPPELLING
For the purposes of this article, we’re assuming the climber/rappeller is already wearing and correctly using their standard PPE setup. The list can be extensive, so rather than repeating it every time, we’ll take those fundamentals as a given.
The Basics
If this setup below doesn’t immediately make sense, this is probably a good place to stop and revisit the fundamentals before diving deeper.
A rappel on a pitch shorter than half the rope length. Knots tied in the rope ends. Both rope ends reach the ground, with the midpoint correctly positioned at the anchor. A solid, smooth anchor point. A standard double-strand rappel through a tube-style device, backed up with a properly configured friction hitch, such as a Prusik. Everything correctly threaded, extended, loaded, and locked with a quality HMS (pear-shaped) carabiner.
Perfect. That covers what most climbers know.
Now for the fun stuff.

Fixing
One of the common assumptions in rappelling is that the rope and all the gear/anchor will be retrieved afterward rappelling, but that isn’t always the case. In some situations, fixing a rope in place is the better option.
For example, a 59.5 m pitch can technically be rappelled with a single 60m rope (allowing roughly 0.5 m for a knot) if the rope is fixed and left behind. This can make sense during rescues, while aid climbing and planning to jug back up later, or in a range of other more specialized scenarios.
The important takeaway is that the “retrievable” part of rappelling is ultimately a choice, not a requirement.
Lowering
Rappelling is skilled. If someone in your party isn't skilled or is injured, and you are comfortable doing so, consider lowering them to the ground, followed by you rappelling. Again, just having more tools gives more options - so go learn lowering skills!
Friction Hitches
Friction hitches are a key component of many modern rappel systems. The most commonly used include the Prusik, autoblock, and Klemheist. Each creates friction on the rope and can be used as a backup or control element within a descent system.
Understanding how and when to use each type helps you adapt to different rigging scenarios, improving both safety and efficiency when managing more complex rope systems.
Single Strand
If a rope is fixed / counterbalanced / blocked or held safely, then rappelling a single stand can be just as safe as rappelling on 2 strands. This can be done with the standard setup or with an assisted device such as a GriGri; just be aware that a single line offers less friction, so it's harder to hold. Wet, skinny or icy ropes will reduce friction further, so know how to add more with additional carabiners or rope redirects.
Blocking Systems
A rope system can be “blocked” on one side while remaining retrievable or releasable on the other. At its simplest, this occurs when two ropes are tied together; the joining knot acts as a stopper, preventing the system from passing through the small thread-through point on some anchors in one direction.
More advanced versions involve tying a knot in the rope and clipping it back to the opposite strand with a carabiner (often referred to as a Reepschnur-style system). Other variations include using a clove hitch on a carabiner or different knot configurations depending on the objective and anchor setup. Alternatively, an Equivocation Hitch, sometimes nicknamed the "Daisy of Death" can be used. It consists of a series of interlocking bights that create enough friction to hold a load while still allowing the system to be released easily from the opposite side.
There are many ways to create a “blocked” system, but the key principle remains the same: one side of the rope is fixed and safe to descend on, while the other is configured to be releasable or retrievable.
These techniques should only be used with a clear understanding of the system, the anchor, and the rope setup involved. Practice is essential before applying them in real scenarios, as small changes in configuration can significantly affect how the system functions safely.
Specialized Retrieval Systems
The most commercially available example is the Beal Escaper, which allows a rope to be fixed for descent and then retrieved afterward through a controlled sequence of pulls. It offers a purpose-built, engineered solution to a problem climbers have been experimenting with for decades.
Alongside these commercial systems, there are also improvised and far less standardized methods that have circulated in climbing communities over time, some involving devices like fifi hooks, rubber bands, and other non-standard components. These approaches are generally considered high-risk and are not recommended.
Similarly, systems such as the fiddlestick or the Sand Trap (Rappelling on a bag of sand that you empty and pull down afterwards exist within this experimental space. While they may have niche applications in canyoning and other specific contexts, they are unlikely to become common practice in popular rock climbing venues, where more conventional and widely tested methods remain the norm.
Counterbalanced Systems
If the load on opposite strands of a double-strand rappel is roughly equal, it is possible for the system to remain balanced. This is sometimes used when two climbers, each on their own device (for example, two Petzl GriGris), counterbalance each other to speed up a descent.
In practice, this can be efficient, but it also introduces significant complexity and risk. Counterbalanced rappels have been associated with serious accidents, particularly when things go wrong in sequence: loss of control, sudden shifts in weight distribution, increased anchor loading, miscommunication between partners, or rappelling off the ends of ropes. Small errors can compound quickly, and the margin for recovery is often low or nonexistent.
Some of these risks can be partially mitigated by adding redundancy, such as blocking one side of the system, tying stopper knots, or clipping climbers together for increased control and connection. As with many advanced rope systems, the key consideration is whether the efficiency gained is worth the added complexity and potential failure points. A highly practiced simple descending system can often be as efficient and much safer than a complex “speedy” descent method.
Tandem Systems

Learning how to rappel while controlling a second person is a core component of many rescue courses. These tandem systems teach valuable skills beyond simply descending with extra weight, including how to add friction, manage increased loads, safely integrate additional attachment points into the system, and move extra mass efficiently through different types of terrain.
The same principles apply when managing haul bags, rescue stretchers, injured climbers, or other heavy loads that climbers occasionally need to move safely through technical terrain.
Adding tandem rappels and load-management systems to your skill set introduces another layer of capability and problem-solving to your overall rappel toolbox.
Releasable Systems
We often take for granted that a climber can simply clip into or out of an anchor or piece of protection when needed. In reality, injured climbers may be unable to manage these transitions themselves, and static loads such as haul bags, stretchers, or weighted equipment certainly cannot.
Once a heavy load transfers fully onto a system, releasing or repositioning it can become surprisingly difficult. This is why understanding releasable systems is so important. Knowing how to rig systems that can be safely transferred under load, and knowing how to manually raise a stuck load if required, can make the difference between a manageable situation and a complete standstill.
An entire retreat or rappel escape can be compromised if a load becomes trapped in a non-releasable configuration.
Pull Systems
Pull systems, often called “tag lines” are commonly used when climbers descend on a primary rope while carrying a separate, lightweight cord to retrieve the system afterward. The main rope handles the rappel load, while the thin pull cord is used solely for retrieval, typically in conjunction with a blocking method to ensure the system is correctly weighted and oriented during descent.
Modern tag lines are increasingly light and compact, often eliminating the need to carry a second full-weight rope. This makes them particularly useful for longer routes or alpine-style objectives where reducing pack weight is a priority.
However, these systems introduce their own set of challenges. Pulling ropes can become difficult depending on friction, terrain, and rope drag. The blocking system can also become prone to snagging, and tag lines are generally not rated for use as lead ropes in the event of the main rope becoming damaged.
Despite these limitations, when used correctly, pull systems can enable longer rappels with significantly less carried weight. As always, proper knowledge of knotting techniques for joining ropes of differing diameters, along with careful system setup, is essential for safe and effective use.
Stuck Ropes
Everyone who has climbed long enough will eventually experience a stuck rope. Sometimes it’s simple friction, sometimes a knot has caught, and sometimes the rope has self-trapped and won’t move in either direction.
There are several possible responses depending on the situation: ascend the line to free it if possible, leave it and walk away if it’s safe and appropriate, cut and abandon what you must in order to continue, re-lead the pitch to recover the system, build a mechanical advantage and apply extra pull force, change the pull angle to try to release the snag, or wait for assistance. The list is long, and no single solution fits every scenario.
What you choose will depend entirely on the terrain, risk, situation & urgency. The more experience you build working through these situations, the better your judgment becomes in selecting the right response.
One useful habit is having the first person down perform a short “dummy pull” check before the second climber rappels. This helps identify potential snag points early, when they are still easy to correct.
Cutting Away
While pulling a knife and cutting a loaded rope can obviously be catastrophic, it is still a vital option that needs to be considered in specific scenarios. In certain cases, it may be the quickest, best or only way to resolve a situation.
The key is to keep this option in mind while actively looking at all solutions. Use it with caution, and make sure you understand what you are cutting and the consequences,(What else is at risk from this sharp blade? Where and how will the load shift if we sever the loaded link currently supporting it?) Don’t dismiss the cutting option entirely as part of your broader decision-making toolkit.
Offset and Traversing Descent Systems

Sometimes climbers need to move sideways, inwards, under roofs, or around corners while descending. In these situations, knowing how to manage a rappel system and place directional protection, often called rebelay systems (common in big wall and alpine climbing) is key to safely guiding your descent toward the next anchor.
A rebelay allows you to redirect or re-secure the rope at an intermediate point, effectively steering the rappel line through complex terrain while maintaining control of the system. Once established, you continue the descent to the lower anchor, where the rope can be secured. Your partner will retrieve the gear on their way down
Depending on the terrain, your partner may end up suspended out from the wall, effectively “in space” on the loaded strand of rope. From there, a controlled haul or assist may be used to bring them back to the stance, ensuring both climbers and all equipment are retrieved and ready for the next, often steep or overhung pitch.
No Device
Devices get dropped, forgotten, or occasionally left at home entirely. Knowing how to rappel without a dedicated device using a Munter hitch, carabiner brake or even a monster Munter, turns this situation into a manageable inconvenience. In other scenarios, being lowered by your climbing partner may be the simplest and safest solution.
These improvised methods are not necessarily as smooth, efficient, or comfortable as a modern rappel device, but they are valuable skills to understand and practice. Having a broad toolkit of rope techniques means that losing a device does not automatically become an emergency, just another problem to solve.
And for those old enough to remember, there is the lost art of rappelling by wrapping the rope around your body to create friction, barely used today, but still occasionally relevant in true emergency situations. Take a moment to look up “Dülfersitz body rappel.”
Walk Away
This is our favourite option, simply walk away down the trail.
Too often, the decision to rappel is made by default, when walking is actually faster, easier, and significantly safer. In many situations, descending on foot is not only more efficient but also reduces exposure to unnecessary risk.
It’s worth remembering that the best descent system is sometimes no rope at all.
“The best descent system is sometimes no rope at all.”
Rope Management Systems
If the wind is howling, the terrain is likely to snag or damage your rope, or there are parties below you, it can be useful to stack the rappel lines in a pack hanging below you, or flake them into “saddle bags” using a sling and stacking method.
This keeps the rope tails controlled and with you, reducing the risk of tangles, snags, or dropping ropes onto others. It is especially useful when navigating unfamiliar terrain where rope management becomes more complex and exposure is higher.
Anchors
Throughout this article, we are assuming anchors are solid. However, the reality is that this is not always the case, and that’s an understatement.
You must be prepared to build and evaluate anchors across a wide range of terrain and rock types: snow and ice, splitter cracks, trees and shrubs, sandstone towers, canyons arches and everything in between. The possible configurations, especially when considering equalizing multi-points are almost endless.
The key principle is simple: know before you go.
Knot Passing
At some point in your climbing career, you will likely need to pass a knot while rappelling (Think core shot). Fortunately, the technique itself is not especially complicated, but it does require familiarity with the process, and the ability to change systems on the way down.
In some situations, passing a knot can be as simple as standing on a ledge, clipping into an anchor, and repositioning your rappel device below the knot. In steeper or more exposed terrain, however, the process may require additional slings, cord, or improvised attachment points to safely transfer your weight while reconfiguring the system.
Like many advanced rope skills, knot passing becomes far safer and more efficient with practice. It is worth learning well before you ever need it in a stressful or consequential situation.
End of the Rope
It’s dark, it’s late, and you’ve rappelled the wrong route, but you were smart enough to tie stopper knots. Now you’re hanging in space and the only option left is to go back up.
Knowing how to ascend your ropes is an important extension of rappelling. While the techniques themselves are not overly complex, they can be physically demanding and require efficiency under less-than-ideal conditions. The main limitations are usually not the systems themselves, but whether you have the right equipment on your harness and the familiarity to use it effectively when it matters. Go practice.
Brake Bars, I’Ds, Stops and More

The range of rappel devices available within climbing is already extensive, but the options expand even further when you step into the worlds of industrial rope access, rescue, and caving. Many of these devices are purpose-built for specific environments, rope diameters, and loads, each with their own advantages and limitations.
For example, a lightweight tube device such as a Black Diamond ATC Guide may work perfectly for standard climbing descents, but it is not designed for a 200m descent on a 12.5 mm static rope. In that situation, a brake bar rack or an industrial descender such as the Petzl I’D L may be a far more appropriate choice.
The key takeaway is to use the right tool for the job. Sometimes that means looking beyond the traditional climbing world and into the broader range of equipment developed for industrial applications.
Expedition-Style Rappel Systems
In certain highly committing situations, you can feel so far from safety it’s almost like being on the moon. In these environments, having an “umbilical cord” back to safety can be your only real exit strategy.
This is where expedition-style fixing comes in: fixed lines are established, often over extraordinary distances to enable efficient descent from up high. These systems may span entire ridgelines or big alpine faces, linking high camps to lower camps or base areas.
Knowing these lines are in place and that a retreat is possible can be critical when a storm rolls in or an injury occurs. While not a rappel technique in the strict sense, it is a logistical system that you should consider.
Continue Learning
The systems discussed in this article only scratch the surface. These resources are excellent next steps for climbers looking to expand their knowledge of anchors, rope systems, rescue, and mountain travel.


Leave a comment