


Author: Eric H.
The humble sling is a simple piece of webbing that every climber has used since day one of their climbing career. It's made from Nylon, Dynatec, Dyneema, Spectra, Dynex, Polyester, Polyethylene, Aramid, Polyamide, or some combination of these materials. Originally tied in a loop using a water knot, it is now commonly sold pre-sewn into a loop with bar tacking. Every climber owns at least one sling, and for good reason. This amazing, versatile tool, with a bit of knowledge, can perform many different roles in your climbing systems.
Disclaimer: Climbing is inherently dangerous. The descriptions of techniques and procedures in this article are intended to provide general information. This is not a substitute for formal instruction, routine practice, and plenty of experience. When you follow any of the procedures described here, you assume responsibility for your own safety. The information below is a "personal opinion piece" and has been provided in good faith. It cannot be seen as "complete" as it does not cover every eventuality. We are simply offering readers useful information for such a complex sport. Hope you enjoy reading through this article!
The Basics
The sling, aka a “runner”, is just webbing in a loop used as a full-strength way of attaching things together, whether it's you into a rope system or your anchor pieces together. Webbing can be purchased off the spool, at any length you require, or purchased pre-sewn into a loop with the most common sizes being 60cm, 120cm, and 240cm. Standard widths are 8mm to 20mm.
Material Break Down
| MATERIAL | PROS | CONS | PROPERTIES |
|---|---|---|---|
Nylon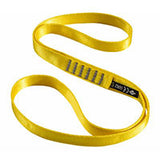 Example: Black Diamond 18mm Nylon Runner |
Cheap, durable, and holds knots well. | Bulky, absorbs water, heavier, susceptible to UV damage. | High melting point, absorbs energy (8-10%). |
UHMWPE*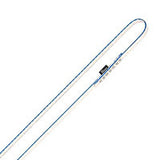 Example: DMM 11mm Dynatec Sling |
High strength to weight ratio, abrasion and cut-resistant, and thin diameter. | Expensive, not dynamic (3-5%), not as durable, slick. | Cannot be dyed, less susceptible to UV damage. |
Polyester*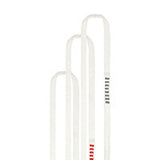 Example: Petzl Anneau Polyester Sling |
UV or chemical resistance, durable, and cheaper than Dyneema. | Not dynamic (3%). | Softer, similar strength to weight ratio as nylon. |
Aramid**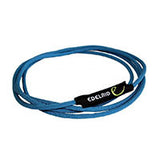 Example: Edelrid 6mm Aramid Cord Sling |
Cut resistant and higher breaking strength. | Stiff, heavier, and bulkier. | Resistant to heat. |
Not all slings are 100% one material and manufacturers often combine materials to form a hybrid. Manufacturers are trying the gain the benefits of mixing multiple materials.
*Dyneema, Dynex, Dynatec and Spectra are all brand names for Ultra-high-molecular-weight polyethylene (UHMWPE). Polyester and Polyamide are Polyethylene Naphthalate.
**While technically a cord, aramid can be used as a sling. The main benefit of Aramid is its increased cut resistance. Sometimes referred to as Kevlar.
This knowledge piece isn't a Sling Buying Guide, but knowing the basic pros and cons of each material will help you select the right sling for the 10 applications below.
10 Uses for a 120cm Pre-sewn Sling
Like several tools in a climber's toolkit, the 120cm sling has a variety of uses, safe applications, and of course do's and don'ts. While we can't highlight precisely when to use (or not use) your sling, here are 10 uses for a 120cm sling every climber should know.
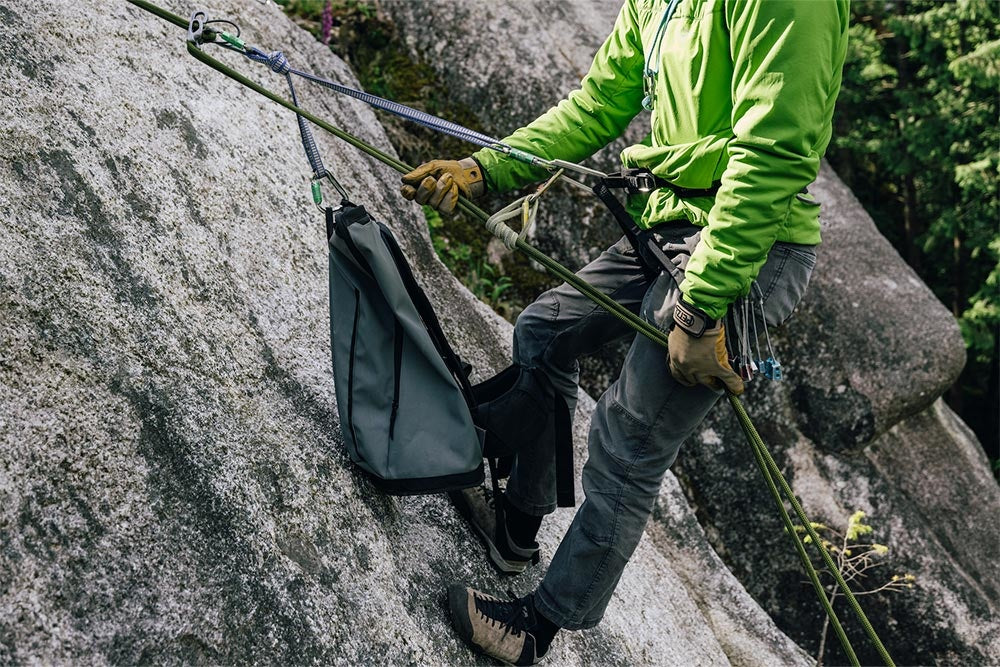
1. Extended Rappels
Create separation between your belay device and your third hand prusik backup by using a 120cm sling girth hitched to the two tie-in points on your harness. After girth hitching the sling to your harness, tie an overhand knot halfway along the sling and connect your belay device to this loop. Your prusik should be attached to the rope below the belay device and connected to your belay loop. To complete the system attach a locker to the far end of your sling, this stops the possibility of the knot rolling and also serves as a handy way to attach yourself to each anchor along the rappel route. While rappelling, this locker can clip back to your belay loop neatly.

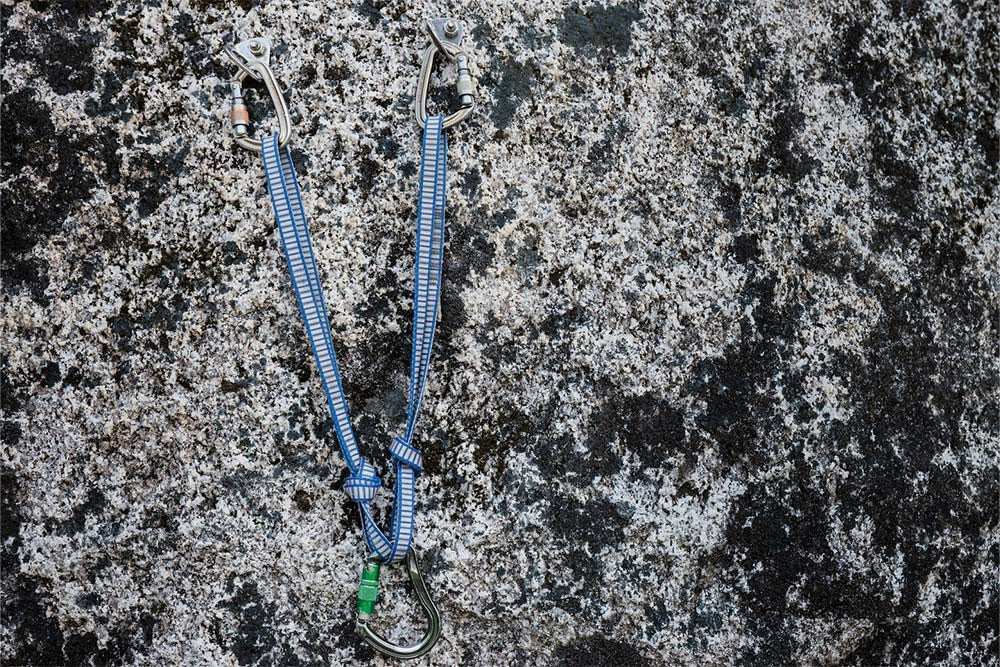
2. Common Anchor
Equalize two bolts for a very simple, safe and effective anchor setup. Connect a 120cm sling to both bolts with carabiners and pull the sling down between the two bolts in the anticipated load direction and tie a knot. Simple, common or basic, this setup has a few interchangeable names.

3. Girth Hitch Anchor
Identical to the common anchor except rather than tying a knot, take a bight using both strands of the sling and slide it through and then over the head of a master carabiner. This system has no knot to untie after use but needs one extra carabiner, preferably a large triple-action pear-shaped carabiner.

4. Inline Anchor
Save the 5m cordelette for rescue scenarios and use this clever trick to equalize multiple cams or nuts when building a trad anchor. Clip the highest cam/nut with a 120cm sling and pull it down to the 2nd piece, tie an overhand knot loosely and clip in the piece below the knot. Pull down again and it will tighten evenly on both pieces. Now clip the tail of the sling into the third piece and follow the steps above for a common or girth hitch anchor.
5. Sliding X with Stopper Knots
Clip the 120cm sling into two bolts with carabiners and pull down both strands in the anticipated direction of load and then twist the top stand 180 degrees to create a loop. Clip one master carabiner into this loop and the lower strand at the same time. Next, tie one overhand knot on both sides of the master carabiner. This will allow the master carabiner to slide around and equalize as the load changes direction while the knots limit how far the sling could extend in case one of the bolts fails to prevent shock-loading. The knots should be as close to the master carabiner as possible without limiting the direction change.
6. Rappel V System
Rappelling with an injured person or a heavy haul bag is difficult, knowing how to rig a simple “V” with a 120cm sling will take the load off of you and put it onto the system. First, fold a 120cm sling in half and then make one side longer than the other, tie an overhand knot at the top with all four strands. You should now have a loop to clip your belay device into with two loops hanging below it, one long and one short. Connect the four stranded top loop and carabiner into a rappel device and onto the rope, connect the two lower loops, one to yourself and one to the haul bag or injured person. Add in a prusik backup and now you can rappel easily with heavy loads.
7. Fixed Point Belay Setup
Create a two stranded loop in one end of your 120cm sling by tying a small double loop bowline, clip that loop to the bolt with a locking carabiner and then pull the tail of the sling tight to the 2nd bolt, tie an overhand knot, and clip that with another locker to the 2nd bolt. Attach a large HMS locking carabiner to the leftover loop and you are ready to put your leader on belay with a munter hitch in the HMS. This system is relatively new in Canada but is fast becoming an adopted technique in a variety of direct anchor belay situations.

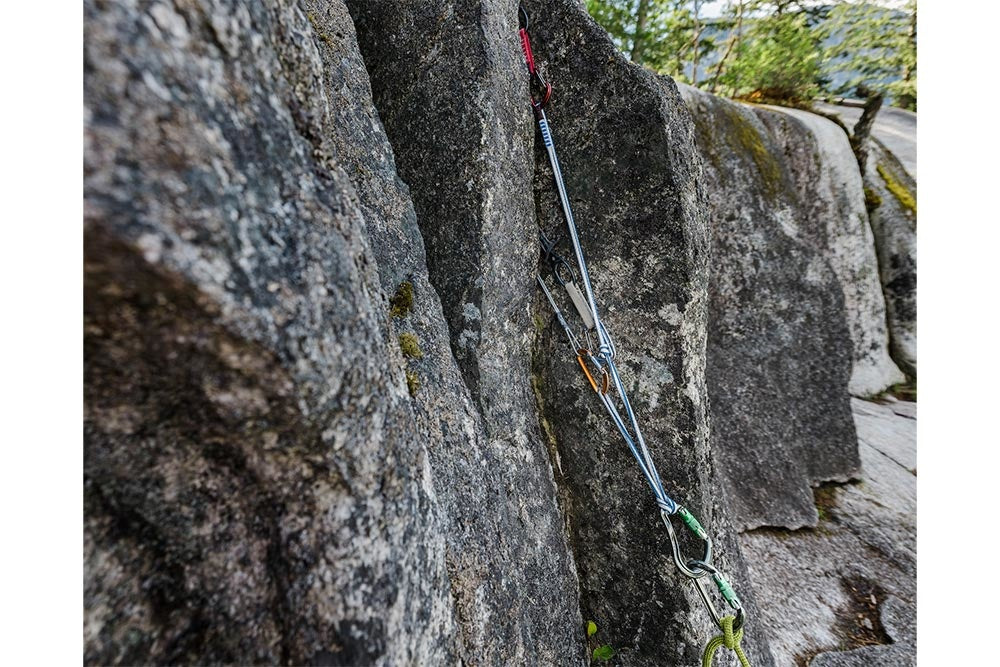
8. Slinging Trees or Chockstones
The original and classic use of a 120cm sling. Throw it over a natural horn of rock, wrap it around a tree or chock stone and connect it to your rope with a carabiner. The alpinists reading this will often take 3 or 4 120cm slings on ridges and alpine faces. They are invaluable for reducing rope drag, saving cams and nuts for other sections, and offer quick easy protection when natural features appear on a route.
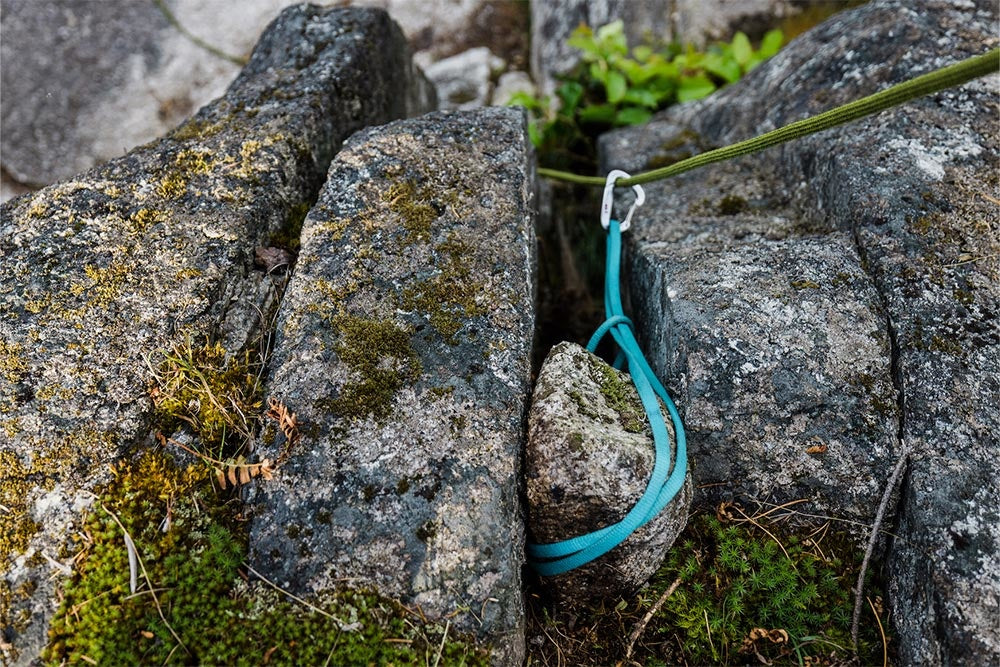
Above: Sketchy Chockstone! Always test your pro.
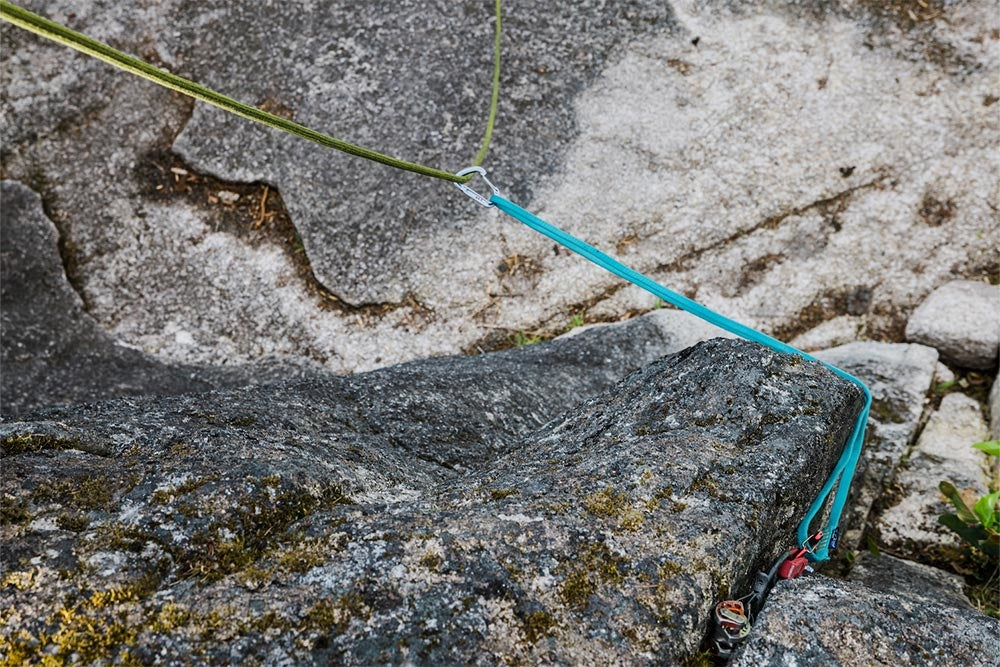
9. Extending Protection
If you have ever pulled over a large roof or around a corner and then looked back as your rope gets pulled into the rock you will understand how badly rope drag can stop your upwards progression. Anticipate these huge direction changes and extend your protection so your rope avoids the lips of roofs, or other sharp edges to reduce rope drag and save your rope from unnecessary wear and tear.
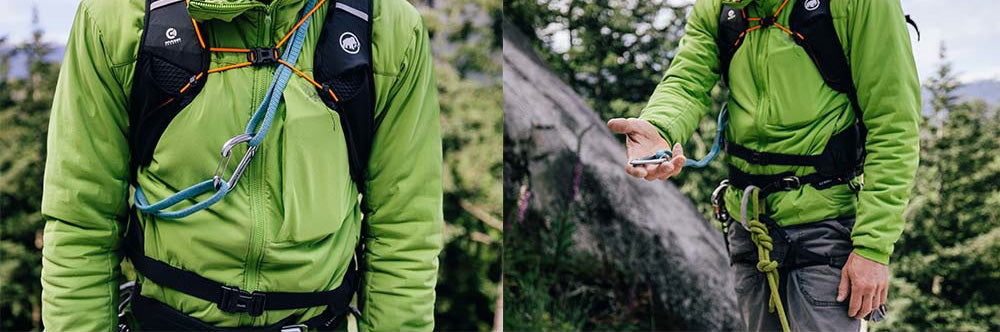
10. Racking 120cm Slings
While our last point isn't an actual use for a 120cm sling, it's certainly not the least. It's important to know how to rack slings for easy use and quick access. Don't half them and slip them over your head, they will become tangled or trapped by your pack. It's best to make them into a loop using a single non-locking carabiner, have this loop over your shoulder and around your chest. When you need a 120cm sling just unclip one side and pull. This method allows the sling to slip from under packs and stops them becoming tangled, it also allows you to have a carabiner ready to use in your hand when extending a cam or slinging natural protection.
Summary
The 120cm sling has been used for generations, it gets added around the shoulders of climbers on every alpine trip or wrapped up and tucked behind harnesses of rock climbers when heading out multi-pitching. The humble sling has rightfully earned its spot on your gear list so learn these 10 tricks and it may become the most versatile tool on your rack. Light, efficient, multi-use, often life saving, quiet and under appreciated the 120cm sling is the unsung hero on your rack.
Hi Lawrence,
When we released our new site, the images for our article posts got jumbled up. We’ve made the fix now. Thanks for catching the error and alerting us!
Excellent information. Thanks! I think the photo for # 2 (common anchor) is mistakenly the same as the #5 (sliding X with knots) photo.
Leave a comment