


Author: Eric H.
Ice, Mixed and Winter Kit
The Basics
Before discussing the nuances of ice gear accessories the reader should be very familiar with the basic kit outlined below. The gear list below will be carried by ice climbers almost 100% of the time and forms the foundation of their packing list. We will not be reviewing the differences between these kit items as there are many online articles that will help you select between the major gear items such crampons, axes and screws etc.
Disclaimer: Ice Climbing is inherently dangerous. The descriptions of techniques and procedures in this article are intended to provide general information. This is not a substitute for formal instruction, routine practice, and plenty of experience. When you follow any of the procedures described here, you assume responsibility for your own safety. The information below is a "personal opinion piece" and has been provided in good faith. It cannot be seen as "complete" as it does not cover every eventuality. We are simply offering readers useful information for such a complex sport. Hope you enjoy reading through this article!
Ice Climbing Gear Outline
- Helmet
- Harness
- 2 x Axes
- Crampons
- Ice Specific Boots
- Ice Screws
- Belay Device
- Alpine Draws
- Anchor Kit
- Locking Carabiners
- Extras: Food, Water, Communication Device
- Clothing: Hat, Gloves, Socks, Base Layers, Thermal Layers, Puffy Jacket, Waterproof Jacket and Waterproof Pants

The Key Accessories
Below are the key ice accessories that every ice climber should carry.
Stubbies
Always have a 10cm ice screw on your rack. These will be your best friends when things get thin and desperate, they are quick to drive home and better than bottoming out a longer screw and tying it off. We are not recommending falling on shorter screws, we recommend you don't fall at all, however given the choice between taking or clipping directly into a 10cm screw vs having no pro, the stubbies become invaluable. Also available are super stubbies at 7cm. While these short and very short screws are viewed by some as useless, a short screw in very high quality ice will comfortably hold your body weight.
Multi-hook with a Knife
On my first ice climbing trip, I experienced water mush refreezing inside my ice screws which rendered them useless on the next pitch, with no way of cleaning them out, we used a branch to remove some of the snow but ultimately had to thaw the screws inside my jacket at each belay. You can imagine how soaked and cold I was a few hours later. Save yourself this painful experience and take a tool that cleans out your screws. These tools have now been adapted to also incorporate a small knife for cutting cord and a hook for reaching inside the ice screw hole when building rap anchors. These new (ish) three-in-one tools are incredibly light and versatile. They are worth their weight 100 times over. (Tech Tip: Sharpen the hook, it makes grabbing the cord deep inside the ice hole way easier.)
Hammer Attachment
The head of your axe is going to get abused, whether pulling a stein move, smashing icicles or pounding in pitons. Prolong the life of your tool by adding a small hammer to the head of your tools. This hammer attachment becomes invaluable in mixed terrain for setting and testing pins, hammering a terrier into dirt or driving home a hex into a crack. It also slightly changes the swing feel of your tool, this extra weight can help drive home the pick in less swings.
Large Racking Clips
These simple extra large clips hold a full set of ice screws and still have room to add your tools when rappelling. The newer clips attach over the harness entirely and don't require ice loops built into the harness. These racking clips can turn a regular harness into an ice harness and allow you to rack gear however you like. This extra rack space saves time and keeps things organized.

Leashes
While many climbers choose to go leashless for single pitch ice climbs, very few will risk losing a tool on a larger face when the consequences of a dropped tool can be very high. The better quality leashes will have a built in swivel so they won't twist up when swapping tools between hands. The leashes are also good for beginners so tools don't go flying when they get dropped and head towards the belayer below like airborne ninja stars.
Grip Tape
Swapping hands and choking up the tool to gain height isn't learned in ice class 101 but having the option as you venture into steeper ice is important. Grip tape allows the second and third hand options on your tool to be used and also benefits the climber by insulating the metal away from your gloved hand, keeping your hands warmer throughout the day. Grip tape also protects the tools from damage and as the name implies, makes the shaft way grippier, always a bonus when your life depends on it.
Thermos and Snacks
Nothing makes me happier than a big mug of tea on a frozen day. The taste of sweet tea in the mountains is amplified by my hunger and craving for a boost in heat. A good thermos is king, whether you are a coffee addict or a tea connoisseur. While we don't sell chocolate bars, the double hit of warm fluids and a caramel covered peanut snack means it gets an honorable mention here.(*Unnecessary photo above of Mr Big Chocolate Bar)
Headlamp + Extra Batteries
The winters in Canada have really short days! Driving to the crag is almost always done in the dark and the approach and descents are often at dawn and dusk. A good headlamp with extra batteries to fight the cold are a must have item for any day out ice climbing. They also become really vital when things go wrong and an epic ensues, the ability to walk out at any time of the night might keep you alive.
Lip Balm & Sunscreen
The cold can take all the moisture out of the air, combine that with a harsh wind and the UV reflecting off the snow is enough to chap and blister lips or at least damage your skin over many years. Cracked bleeding lips are painful and prolonged sun exposure will age that baby face way faster, Lip and skin protection are the unsung heroes of any alpine day.

Bail Kit
The nature of growing and shrinking ice make placing bolts in the right spots often impossible so knowing how to bail off routes without bolts is a prerequisite to multi pitch ice climbing. Take cord to loop around trees, thread through V-thread anchors or replace old anchor tat. A long ice screw allows you to build 0-Threads or V-threads for retreat, the knife allows you to cut the cord or remove older dangerous anchors and the hooking tool lets you pull the rope or cord through holes. The quick link allows you to rappel and pull your rope without damaging the anchor material you left behind, ideal for a more permanent station like a tree rappel or chock stone.

Extra Mitts
As you fight back the “screaming barfies” at each belay the benefit of an amazing mitt becomes obvious. Place a hand warmer inside your mitts at the start of the day and switch to a more dexterous glove for leading, pack your mitts inside your jacket for each lead. Then swap out your gloves for the pre-heated mitt while belaying, your hands will stay warmer throughout the day, with the blood flowing, keeping the barfies away.
Belay Puffy
Pulling onto a ledge at the top of a climb and celebrating often turns into a miserable sufferfest as you stand there belaying your second in the wind being hammered by spin drift. The belay puffy is a life saver at really cold temperatures but can also make the difference between a comfortable day or a miserable shivering experience. Invest in a high quality warm puffy and keep it dry, the new dry treated down keeps its loft in wetter conditions and the new lightweight versions are barely noticeable in your pack. While not an accessory and almost as essential as ice axes, a puffy deserves to be at the top of your Christmas list.

Terrier / Knife Blade Pitons / Extra Nuts or Torque Nuts
Pure ice is amazing but often drips and smears are linked by sections of mixed terrain, these in-between sections require a different kind of protection. Terriers can be driven into cracks, ice blobs or frozen turf offering protection where nothing else will work. Pitons can be hammered into thin cracks at belays or beefing up rappel stations. Nuts can slot into thin cracks and torque nuts work better in wider frozen cracks than cams. All these extra protection pieces are optional for “pure” ice days but venture a little further or encounter a bare rock top out and you'll be glad they are on your harness.

First Aid Kit
Accidents happen! Falling ice is commonplace and many ice climbers have taken ice to the face from a dinner plate shattering above them while swinging tools. A compact first aid kit for stabbing injuries (crampon to a leg) head injuries (Ice to the helmet) and broken limbs (Crampons catching during a fall) should be part of your kit.
Repair Kit
The front toe bail of your crampon takes a beating and withstands huge temperature changes, pack a spare, for one day it will snap! The allen keys allow you to adjust your tools (Change pick) and replace broken crampon front points. The ski strap will allow you to hold a boot into a broken crampon or ski binding, while they won't allow you to keep climbing they will help as you retreat or reverse an approach, we recommend each partner having one on the outside of your pack.

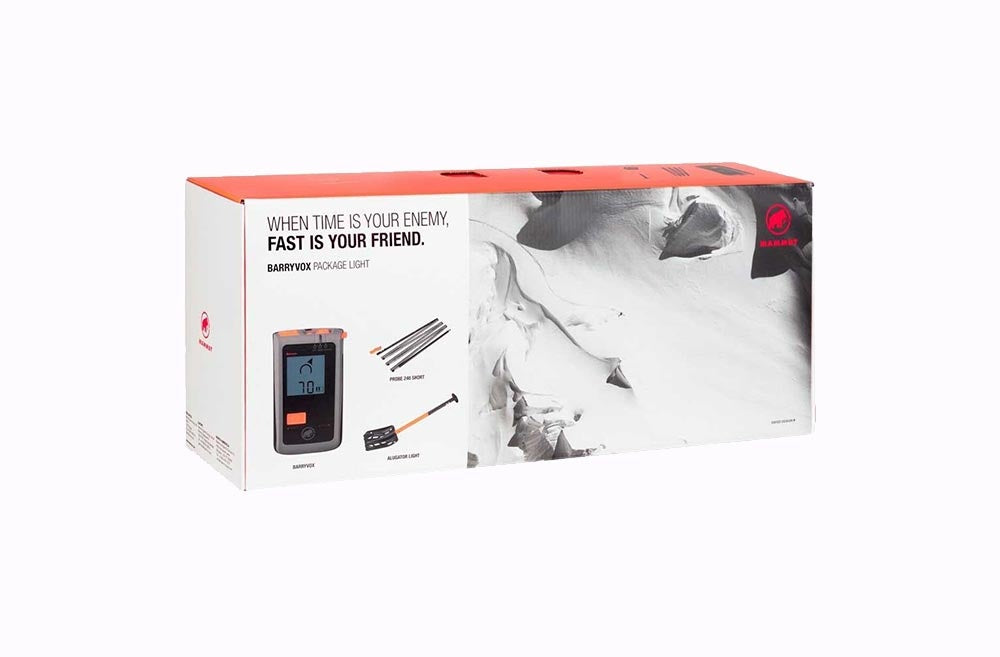
Avalanche Kit
Huge bassins of snow often sit above the drainage you are climbing or passing under to access your objective. Watch the forecast and respect the power of avalanches. If you are venturing through avalanche terrain be prepared for self rescue with a beacon, shovel and probe….. And be trained on how to use them.
Tips and Tricks to Make Your Ice Experience Better
- Pack an extra base layer and change. If the approach is long and sweaty those wet base layers will cool you off once you arrive at your destination. Change and start climbing in warm dry layers.
- Direct Anchor Belays. If the crux is close to the anchor or if there is a large weight difference between partners, consider a direct anchor belay to protect the second from being slammed.
- Half ropes. Ice routes wander over bulges, under roofs and into chimneys, half ropes reduce the rope drag for the leader and allow for full length rappels which saves you time as darkness approaches and the temperatures drop.
- Trekking poles. Post-holing is exhausting, climbing frozen shale is terrifying and leaves you tired before you even tie in. A set of trekking poles can help you balance and move efficiently through more terrain. They are also great for digging into the snow bank to leave gear clipped into when you are up on a route above.
- Paper and Pen. Leave a note on your car saying which route you are climbing, it might save the next party hours of walking only to have to turn away! Or you might be that party and knowing where the first car load of climbers went will help you pick another objective.
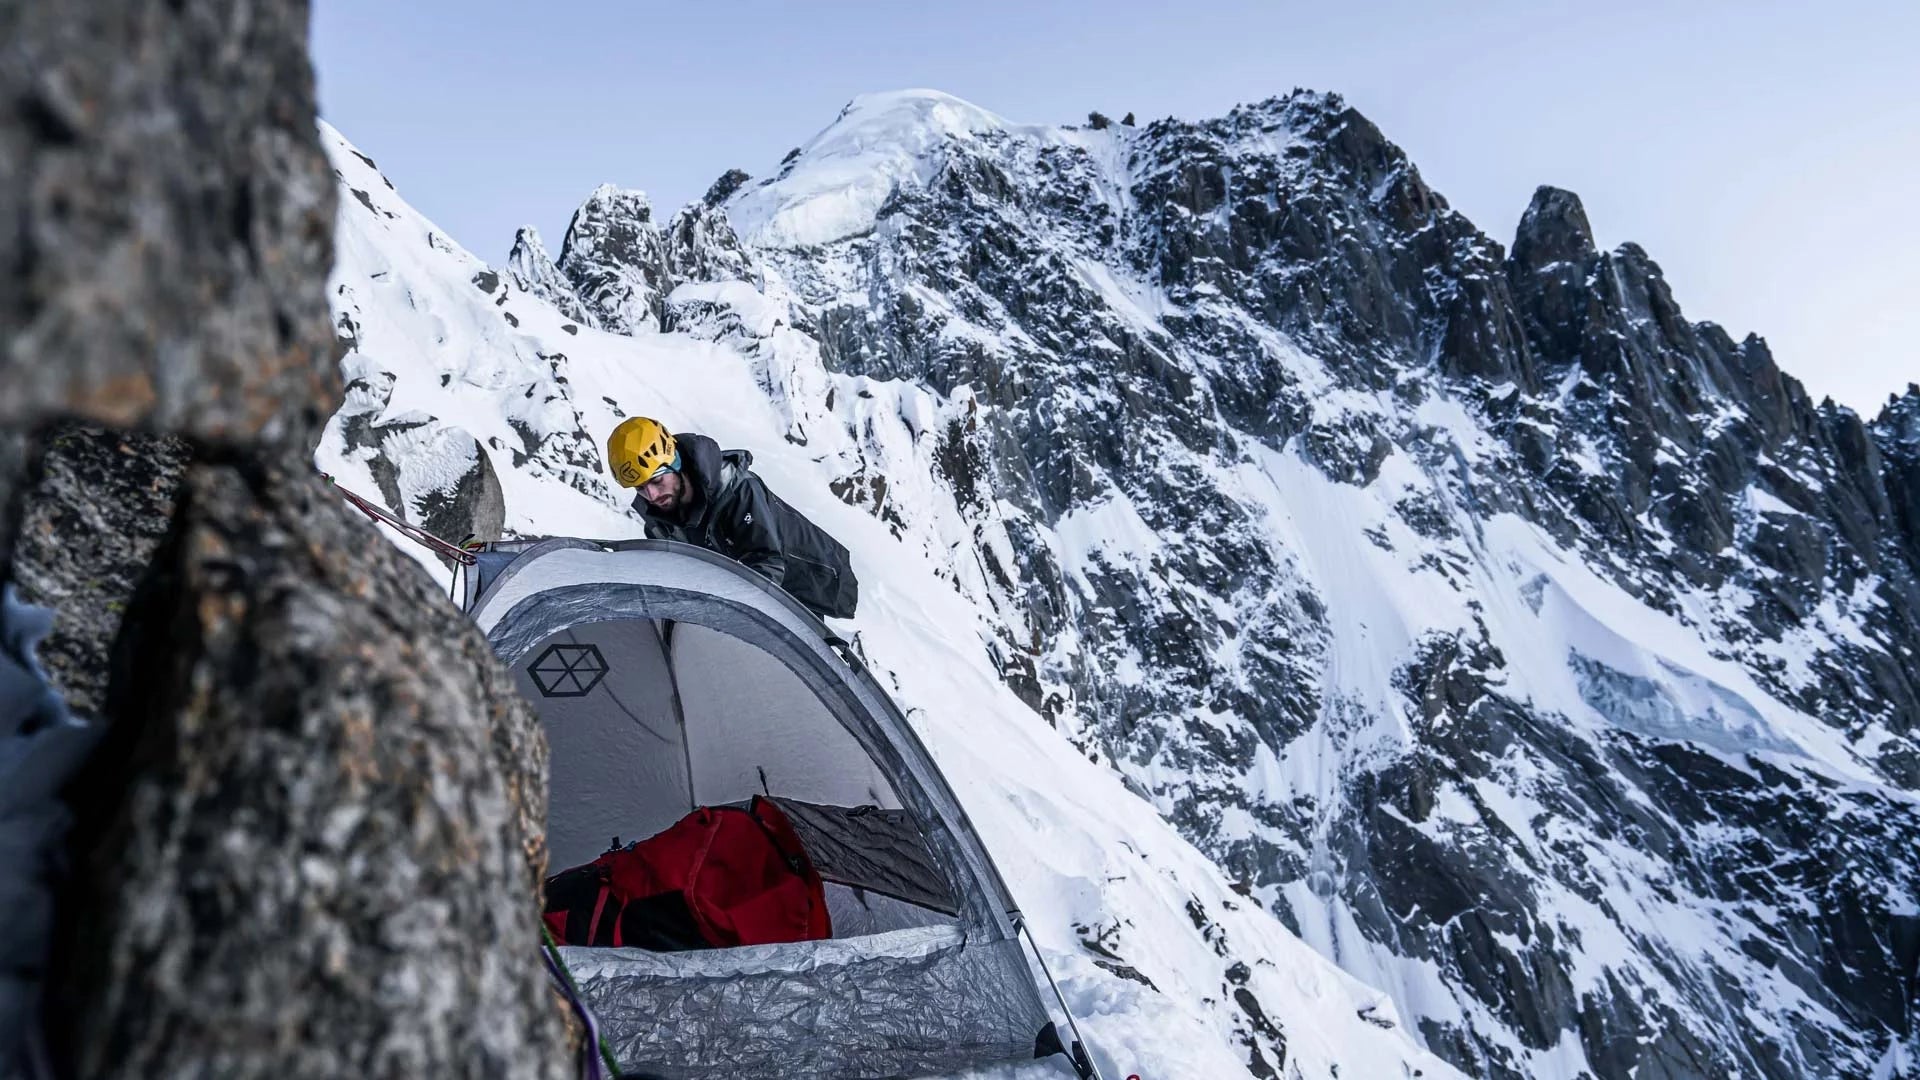
[Cover Photo] Tim Emmett staying warm between attempts on "Mission to Mars", the world’s hardest ice line (WI-13) at Helmcken Falls, Wells Gray Provincial Park, BC. Photo Credit: Mountain Hardwear
Leave a comment